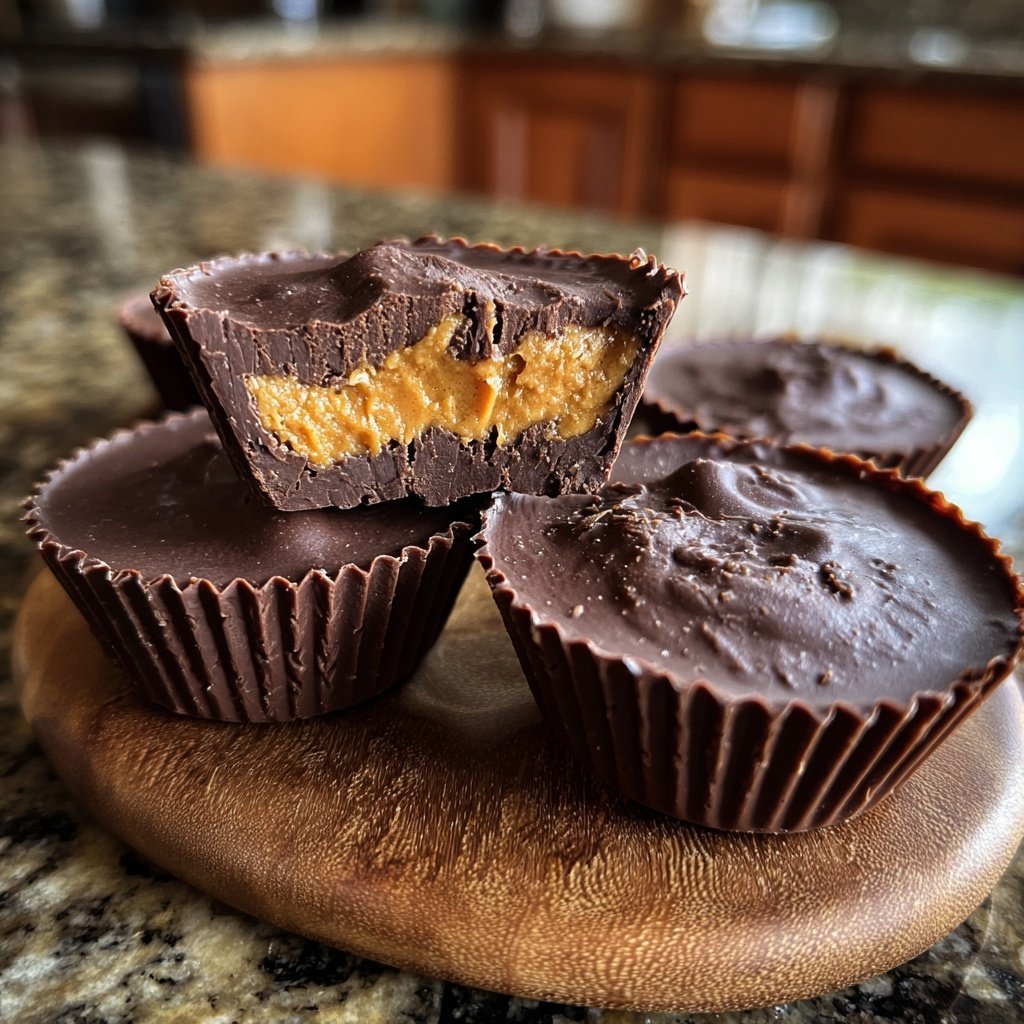
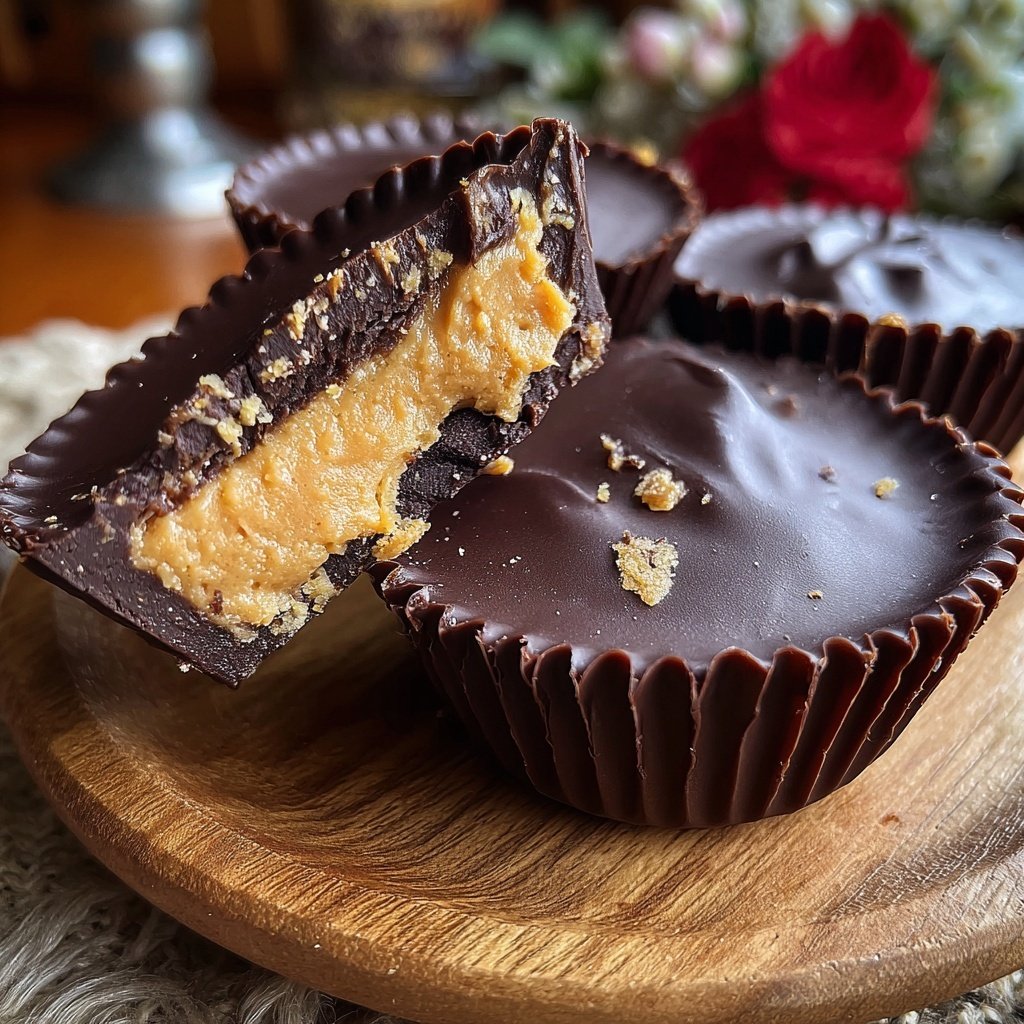
Homemade Peanut Butter Cups with Chocolate Shell
Highlighted under: Classic Recipes
I love making these Homemade Peanut Butter Cups with a rich chocolate shell because they bring back memories of childhood treats. The perfect blend of creamy peanut butter and heavenly chocolate makes for an irresistible dessert. It only takes a few simple ingredients, and I enjoy the satisfaction of creating something so delicious from scratch. Whether I’m sharing them at parties or savoring them myself, these cups are always a hit. Just be prepared to keep the recipe a secret - everyone will want to know how I make them!
Creating my version of peanut butter cups was an adventure in the kitchen. I experimented with different types of chocolate to find the perfect balance of sweetness and richness. The first batch I made was nice, but I found that using dark chocolate really elevated the flavor. With each attempt, I learned about the importance of tempering the chocolate, which gives the shell a nice shine and a satisfying snap.
One day, I accidentally mixed too much powdered sugar into the peanut butter filling, and it became surprisingly thick. Instead of discarding it, I decided to mold it into cups anyway. To my delight, that batch turned out to be my favorite! It taught me that sometimes the best recipes come from unexpected surprises and being open to adjustments.
Why You Will Love This Recipe
- Decadent chocolate shell that snaps beautifully
- Creamy, dreamy peanut butter filling bursting with flavor
- Quick and easy to make, perfect for any occasion
Understanding the Ingredients
The key to achieving a silky, rich chocolate shell is using high-quality dark chocolate chips. Look for chocolate that is at least 60% cocoa for the best balance of sweetness and depth. Coconut oil is added not just for fat but to help the chocolate remain shiny and smooth, making it easier to work with and enhancing the mouthfeel of the final product.
When selecting peanut butter, choose creamy varieties without added sugars or oils for the best consistency and flavor. Natural peanut butter, which often requires stirring before use, can also work well here but might result in a slightly different texture. Remember to let any refrigerated peanut butter come to room temperature for easier mixing.
Mastering the Assembly
When molding the chocolate shells, ensuring an even coat is crucial. Use a spoon to gently work the melted chocolate up the sides of the muffin molds. If you find the chocolate is hardening too quickly, briefly return it to the microwave for a few seconds to remelt. A well-coated shell should feel thick and glossy, providing a sturdy base for your peanut butter filling.
The right consistency of the peanut butter filling is vital for a successful final cup. If the mixture feels too runny, add a little more powdered sugar until it achieves a thick, spoonable texture that holds its shape. If you prefer a sweeter filling, adjust the sugar accordingly, but remember that a balanced filling will enhance the chocolate shell.
Ingredients
Gather the following ingredients to create your own homemade peanut butter cups:
Ingredients
- 1 cup creamy peanut butter
- 1 cup powdered sugar
- 1 teaspoon vanilla extract
- 1 ½ cups dark chocolate chips
- 1 tablespoon coconut oil
Having all ingredients ready will make the process smooth and enjoyable!
Instructions
Follow these simple steps to create your delicious peanut butter cups:
Prepare the Chocolate Shell
In a microwave-safe bowl, combine the dark chocolate chips and coconut oil. Microwave in short bursts (about 30 seconds each), stirring in between, until melted and smooth.
Mold the Chocolate
Using a spoon, coat the bottom and sides of silicone cupcake molds with the melted chocolate. Place the molds in the freezer for about 10 minutes to set.
Make the Peanut Butter Filling
In another bowl, mix together the peanut butter, powdered sugar, and vanilla extract until well combined. The mixture should be smooth and thick.
Assemble the Cups
Once the chocolate shells have set, remove them from the freezer. Spoon a dollop of the peanut butter filling into each chocolate shell, then cover with more melted chocolate on top. Smooth the tops with a spatula.
Final Chill
Return the molds to the freezer for another 10-15 minutes, or until the chocolate is completely firm. Once set, pop the cups out of the molds.
Enjoy your homemade peanut butter cups as a delightful snack or dessert!
Pro Tips
- For a gourmet touch, consider sprinkling a pinch of sea salt on top of the cups before they set. It enhances the flavors beautifully.
Tips for Perfect Chocolate Cups
Allowing the assembled cups to chill for at least 10-15 minutes is important to ensure they set properly. A good test is to lightly tap the side of the mold; if the chocolate shell feels firm and doesn’t budge, it’s ready to be popped out. If the chocolate is too soft, let it chill longer until completely firm. This prevents breakage when removing the cups.
If you're keen on experimenting, consider adding layers to your cups. You could introduce a thin layer of crushed pretzels or sea salt before sealing the top with chocolate for added texture and flavor contrast. Just remember, each layer should be set before adding the next to avoid mixing.
Storage and Make-Ahead Tips
These peanut butter cups can be made ahead and stored in an airtight container in the fridge for up to two weeks. If you prefer to freeze them, layer them between sheets of parchment in an airtight container, where they can last for up to 3 months. Just remember to let them thaw at room temperature for about 20 minutes before enjoying, which ensures the chocolate shell maintains its delightful snap.
For a more festive presentation, consider drizzling melted chocolate over the top with a fork or piping bag after they've set. Adding crushed nuts or a sprinkle of sea salt enhances not just the look but also the flavor, elevating your homemade treats for parties or special occasions.
Questions About Recipes
→ Can I substitute the peanut butter with another nut butter?
Yes, almond butter or cashew butter work well as substitutes.
→ How do I store the peanut butter cups?
Store them in an airtight container in the refrigerator for up to two weeks.
→ Can I use milk chocolate instead?
Absolutely! Milk chocolate will yield a sweeter taste, perfect for those who prefer it.
→ Is it possible to make these vegan?
Yes! Use dairy-free chocolate and ensure the peanut butter is vegan-friendly.
Homemade Peanut Butter Cups with Chocolate Shell
What You'll Need
Ingredients
- 1 cup creamy peanut butter
- 1 cup powdered sugar
- 1 teaspoon vanilla extract
- 1 ½ cups dark chocolate chips
- 1 tablespoon coconut oil
How-To Steps
In a microwave-safe bowl, combine the dark chocolate chips and coconut oil. Microwave in short bursts (about 30 seconds each), stirring in between, until melted and smooth.
Using a spoon, coat the bottom and sides of silicone cupcake molds with the melted chocolate. Place the molds in the freezer for about 10 minutes to set.
In another bowl, mix together the peanut butter, powdered sugar, and vanilla extract until well combined. The mixture should be smooth and thick.
Once the chocolate shells have set, remove them from the freezer. Spoon a dollop of the peanut butter filling into each chocolate shell, then cover with more melted chocolate on top. Smooth the tops with a spatula.
Return the molds to the freezer for another 10-15 minutes, or until the chocolate is completely firm. Once set, pop the cups out of the molds.
Extra Tips
- For a gourmet touch, consider sprinkling a pinch of sea salt on top of the cups before they set. It enhances the flavors beautifully.
Nutritional Breakdown (Per Serving)
- Calories: 180 kcal
- Total Fat: 12g
- Saturated Fat: 2g
- Cholesterol: 0mg
- Sodium: 50mg
- Total Carbohydrates: 15g
- Dietary Fiber: 1g
- Sugars: 8g
- Protein: 4g